Understanding Water Damage Restoration
Water damage restoration is a critical service aimed at reversing the effects of water intrusion in homes and businesses. Whether caused by leaks, floods, or burst pipes, timely intervention is essential to mitigate damage and prevent mold growth.
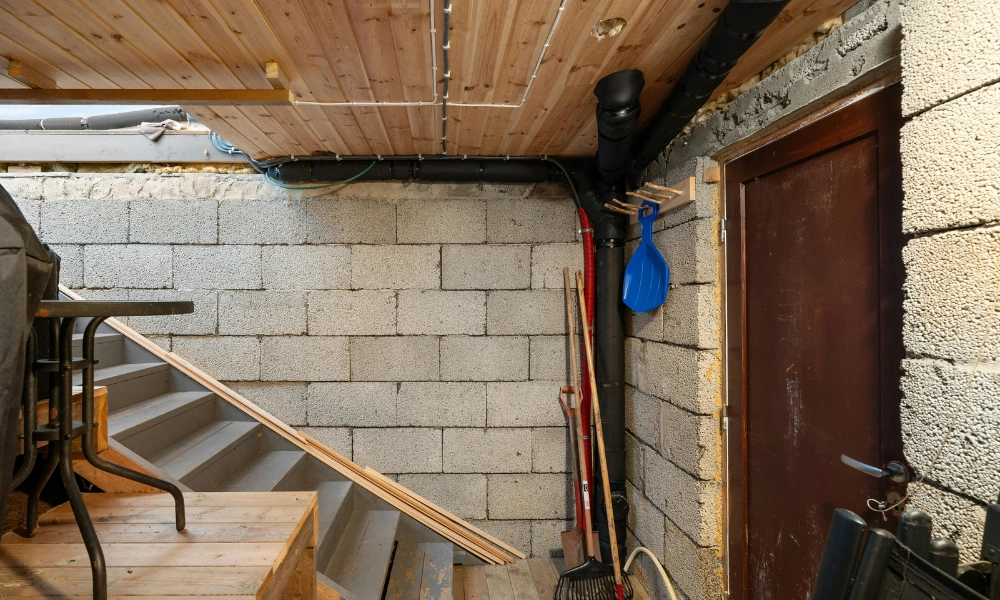
Professionals in water damage restoration utilize specialized equipment such as dehumidifiers, water extractors, and air movers to effectively dry and restore affected areas. For example, a flooded basement requires immediate extraction of water followed by thorough drying to ensure structural integrity and safety.
The Importance of Mold Remediation
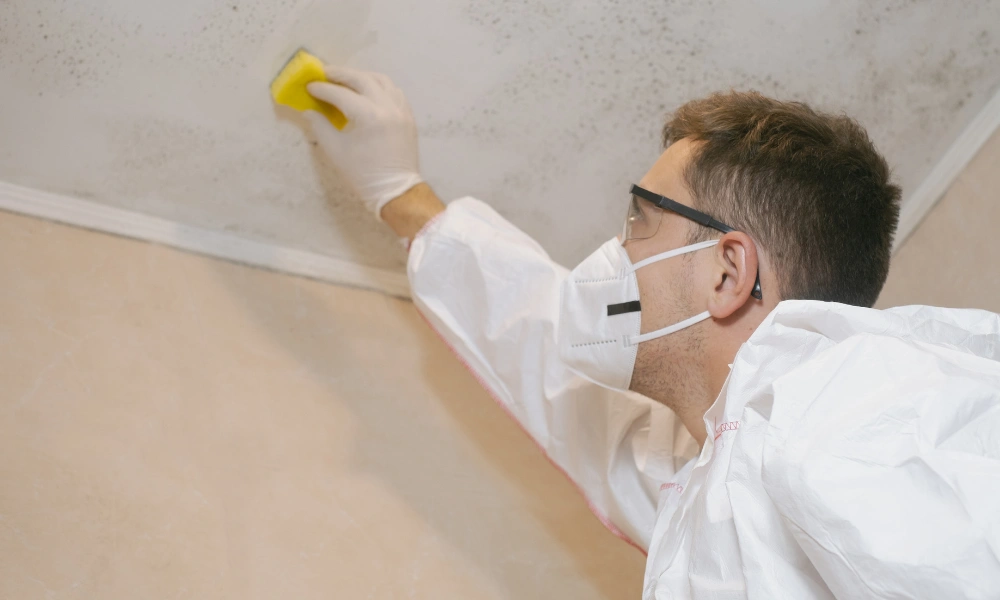
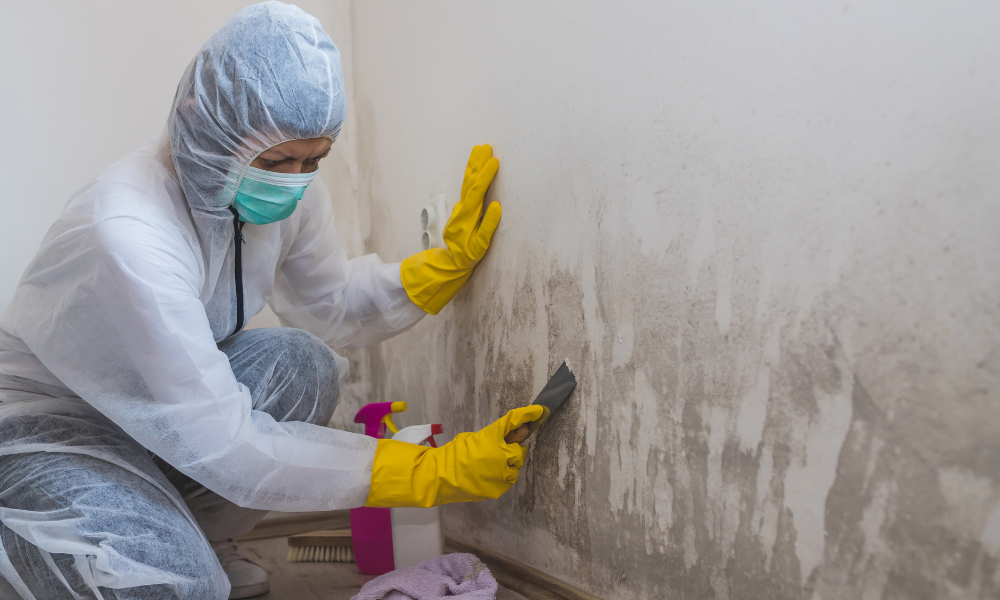
Mold remediation is vital for maintaining a healthy indoor environment, especially in areas prone to moisture. Mold can lead to serious health issues, including respiratory problems and allergies, making it crucial to address mold growth promptly and effectively.
Specialized mold remediation services involve identifying the source of moisture, containing the mold, and safely removing it from the property. For instance, if mold is found in a bathroom, professionals will not only remove the visible mold but also address any underlying leaks to prevent recurrence.
Emergency Flood Cleanup Services
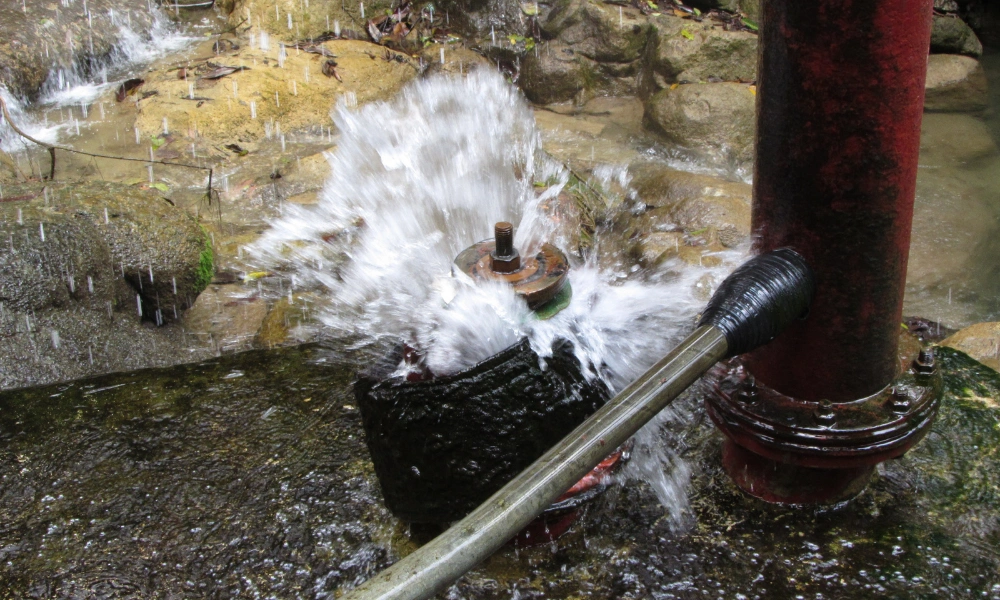
Emergency flood cleanup services are essential for homeowners facing sudden water intrusion due to natural disasters or plumbing failures. Quick response is crucial to minimize damage and protect personal belongings.
These services typically include water extraction, drying, and sanitizing affected areas. Companies like H2O Restoration are equipped to handle emergencies 24/7, ensuring that clients receive immediate assistance and peace of mind during stressful situations.
Client Testimonials and Success Stories
Client testimonials and success stories provide insight into the effectiveness and reliability of restoration services. Hearing from satisfied customers can help potential clients make informed decisions when selecting a restoration provider.
For example, many clients have shared their positive experiences with H2O Restoration, highlighting the professionalism and efficiency of the team during their restoration projects. These testimonials not only build trust but also showcase the company's commitment to delivering high-quality service.
 June 13, 2026Discovering an unmanaged, humid environment spreading across your property layout can instantly induce immense panic for any modern facility owner.…